How to Plant Maple Trees From Seed: A Step-by-Step Guide
- Give A Shit About Nature
- April 12, 2026
- Backyard Habitat, Native Plants
- 0 Comments
Maples are among the most rewarding trees you can grow from scratch. Whether you’re drawn to the fiery fall color of a sugar maple, the graceful spread of a silver maple, or the compact charm of a Japanese maple, starting from seed connects you to one of nature’s most elegant processes, and it costs almost nothing.
Growing a maple from seed takes patience, but the steps are genuinely straightforward. Here’s everything you need to know.
Understanding Maple Seeds (Samaras)
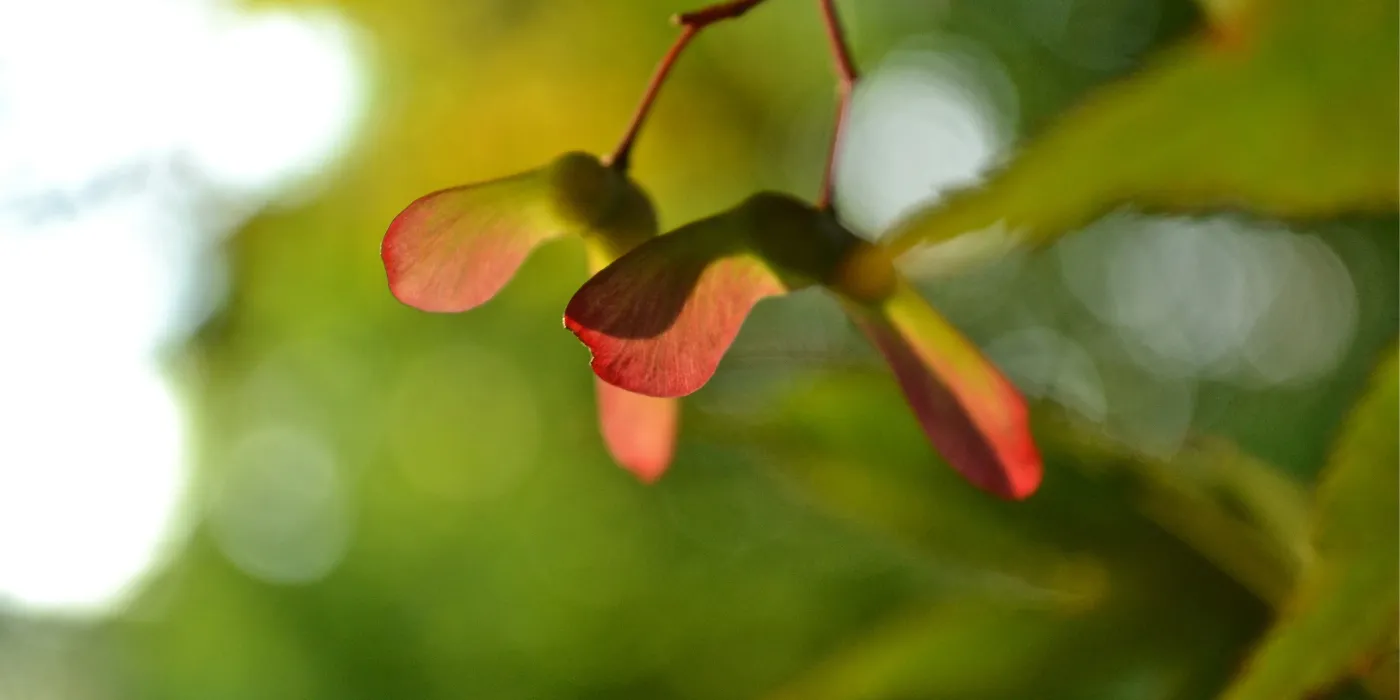
Maple seeds come in that iconic winged pair called a samara, sometimes called “helicopters” or “whirligigs” for the way they spin as they fall. Each wing contains one seed. The spinning motion slows their descent and helps the wind carry them far from the parent tree, which is nature’s way of giving seedlings space to grow without competing with mom.
Different maple species release their seeds at different times of year:
- Silver maple (Acer saccharinum) and red maple (Acer rubrum): Spring (April–June)
- Sugar maple (Acer saccharum) and Norway maple (Acer platanoides): Fall (September–October)
- Japanese maple (Acer palmatum): Fall
This matters because spring-seeding maples can often be planted almost immediately, while fall-seeding maples need a period of cold stratification to break dormancy. More on that below.
What You’ll Need
- Fresh maple samaras (collected or purchased)
- Small pots or seed trays
- Well-draining potting mix (or a mix of peat/coconut coir and perlite)
- Zip-lock bags and damp paper towels (for stratification)
- A refrigerator (for fall-seeding species)
- Patience
Step 1: Collect or Source Fresh Seeds
The best seeds are fresh ones — collected directly from a tree you’ve identified. Look for samaras that are fully mature: they should be tan to brown (not bright green) and feel slightly papery when you handle them.
If you’re collecting from a tree, gather them right after they drop. Seeds left on wet ground for more than a few days can start to mold or lose viability.
You can also order maple seeds from reputable native plant nurseries, especially if you want a specific species or you don’t have access to mature trees.
A note on viability: Maple seeds have a relatively short shelf life compared to many other seeds. For the best germination rates, work with seeds that are less than a year old. If you’re buying, ask about the harvest date.
Step 2: Remove the Wings (Optional, but Helpful)
You don’t have to remove the samara wings before planting — the tree doesn’t care. But removing them makes it easier to handle the seeds and assess their quality.
To do this, simply pinch the wing off at the base. You’ll be left with a small, rounded seed. Gently squeeze it: if it feels firm and full, it’s a good candidate. If it’s hollow or papery, it’s likely empty and won’t germinate.
Step 3: Cold Stratification (For Fall-Seeding Species)
This is the step most people skip — and the reason most fall-seeding maple attempts fail.
In nature, a fall maple seed spends winter on the forest floor, chilled and moist, before the warmth of spring triggers germination. You need to replicate that cold period artificially. This process is called cold stratification.
Here’s how:
- Soak the seeds in room-temperature water for 24 hours. This softens the seed coat.
- Wrap them loosely in a damp paper towel — moist, but not dripping.
- Seal them in a zip-lock bag with a label showing the date and species.
- Place the bag in the back of your refrigerator (around 34–40°F / 1–4°C).
- Leave them there for 60–120 days, depending on the species. Sugar maple and Japanese maple typically need about 90–120 days.
Check on them every couple of weeks. The paper towel should stay damp — add a few drops of water if it’s drying out. If you notice any mold, rinse the seeds gently, dry the paper towel, and reseal.
You’ll know stratification is working when you start to see small white radicles (the first root tips) emerging from the seeds. That’s your cue to plant.
Spring-seeding maples (silver and red) don’t need stratification — their seeds are already primed by the cold of late winter and can go straight into soil.
Step 4: Prepare Your Containers
Use small pots — 3 to 4 inches deep is plenty for the first stage. Seed trays work well too if you’re starting many at once.
Fill with a light, well-draining mix. A blend of potting soil and perlite (50/50) works well. You want something that stays consistently moist without becoming waterlogged. Maple seedlings are surprisingly tolerant, but they don’t like sitting in soggy soil.
Moisten the mix before planting so the soil is evenly damp throughout.
Step 5: Plant the Seeds
Plant each seed about ½ inch (1–2 cm) deep. That’s not very deep — you’re just covering them lightly so they stay moist and have something to push against as they germinate.
Place one or two seeds per small pot, or space them 2–3 inches apart in a tray. Firm the soil gently over the top.
You don’t need to fertilize at this stage. The seed contains everything the seedling needs for its first few weeks.
Step 6: Set Up the Right Germination Conditions
Maples are not fussy germinators, but they do have preferences:
- Light: Bright, indirect light. A windowsill that gets morning sun is ideal. Avoid harsh afternoon sun, which can dry out containers quickly.
- Temperature: Most maples germinate best between 65–75°F (18–24°C).
- Moisture: Keep the soil consistently moist — never bone dry, never waterlogged. A gentle misting once or twice daily works well.
- Covering: A loose plastic wrap or humidity dome over the tray helps retain moisture during germination. Remove it as soon as sprouts appear.
Germination typically takes 1–3 weeks for stratified seeds, though some can take longer. Don’t give up on a pot if nothing appears after two weeks — give it another two.
Step 7: Care for Your Seedlings
Once your seedlings have their first set of true leaves (the second set of leaves, after the seed leaves), they’re ready for a bit more attention.
Light: At this stage, more is better. If you’re growing indoors, move them to your brightest window, or supplement with a grow light for 12–14 hours a day.
Water: Water when the top inch of soil feels dry. Maples are a bit drought-tolerant once established, but seedlings need consistent moisture.
Fertilizer: Once the true leaves appear, you can begin feeding with a diluted, balanced liquid fertilizer (e.g., 10-10-10) every two to three weeks. Go easy — seedlings are sensitive to over-fertilizing.
Thinning: If two seedlings sprouted in the same container, choose the stronger one and snip the other at soil level. Don’t pull — you might disturb the roots.
Step 8: Harden Off and Transplant Outdoor
Before moving your seedlings outside permanently, they need a period of adjustment — this is called hardening off.
Over 7–10 days, gradually introduce them to outdoor conditions:
- Start with 1–2 hours of outdoor shade per day
- Increase outdoor time daily
- Introduce them to direct sun in the final days
This process prevents transplant shock, which can set seedlings back significantly or kill them.
Once hardened, transplant into a larger container or directly into the ground. Choose a spot appropriate for your species — most maples prefer:
- Full sun to part shade
- Well-drained, slightly acidic soil
- Room to grow (research the mature spread of your specific species)
Plant at the same depth they were growing in their pot. Water deeply after transplanting, and mulch around the base (keeping mulch a few inches away from the trunk) to retain moisture and regulate soil temperature.
Common Questions
How long until I have a real tree? In their first year, maple seedlings typically grow 6–12 inches. By year three, many species reach 3–6 feet. It’s not fast, but watching something you started from a seed become a real tree is genuinely one of the more satisfying things you can do in a garden.
What’s the best maple to grow from seed for beginners? Silver maple is the easiest — it seeds in spring, needs no stratification, and germinates readily. Sugar maple is slightly more involved due to stratification but is deeply rewarding and native across much of eastern North America.
Can I plant maple seeds directly in the ground? Yes, especially for fall-seeding species. Scatter seeds in fall on prepared soil, cover lightly, and let winter provide the stratification naturally. Thin seedlings in spring once they emerge. You’ll get lower germination rates than controlled indoor sowing, but it’s far less work.
Why didn’t my seeds germinate? The most common reasons are: seeds that weren’t viable, insufficient stratification time, soil that dried out during germination, or seeds planted too deeply. Try again with fresh seeds and careful attention to moisture.
A Final Note
Every large maple you’ve ever admired started as one of those little winged seeds spiraling down on a fall day. There’s something worth pausing on in that. When you grow a maple from seed, you’re taking part in a process that has been happening in forests for tens of millions of years — you’re just giving it a little help.
Take your time with it. Check your seeds. Keep the soil moist. And when that first seedling pushes up through the surface, know that you’re looking at a tree that could outlive you by centuries.
That’s worth doing.

