Black-Eyed Susan Dying? Here Are the Most Likely Causes and Fixes
- Give A Shit About Nature
- April 19, 2026
- Native Plants
- 0 Comments
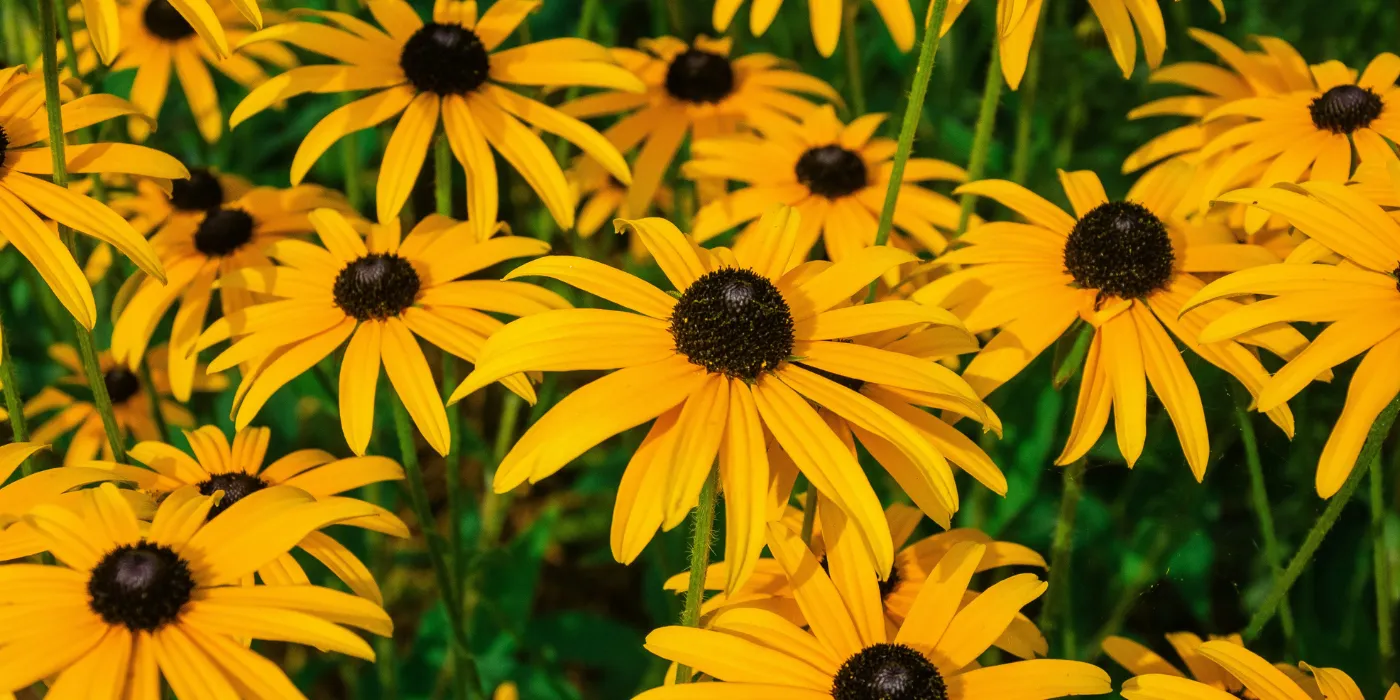
Black-eyed Susans have a reputation for being tough. They’re easy-to-grow, drought-tolerant, and full of color from midsummer into fall. So when one starts looking rough — wilting, yellowing, collapsing midseason — it tends to feel like you did something wrong.
Truthfully, sometimes you did. But sometimes the plant is doing exactly what it’s supposed to do, and understanding that first saves a lot of frustrated troubleshooting.
The Thing the Garden Center Doesn’t Always Tell You
The most common black-eyed Susan sold at nurseries — Rudbeckia hirta — is a short-lived perennial or biennial. That means it goes through a two-to-three-year life cycle and then dies. This is normal. It’s not a failure. If your plant bloomed beautifully for a season or two and is now declining, it may simply be at the end of its natural life.
Rudbeckia hirta often gets shelved in the perennials section at garden centers, which is technically accurate but misleading in practice. Many gardeners buy it expecting indefinite returns like a hosta or coneflower, and are confused when the plant dies out. The good news is that it self-seeds readily — new plants may well appear nearby without you doing anything.
If you want a black-eyed Susan that genuinely persists for years, look for Rudbeckia fulgida (shiny, smooth leaves, versus the hairy leaves of hirta) or its popular variety ‘Goldsturm.’ These tend to be longer-lived and can be divided every three to four years to stay vigorous.
With that framing in place, here are the actual problems to look for.
Overwatering and Poor Drainage Are the Most Common Culprits
Black-eyed Susans are prairie natives. They evolved in conditions that are sunny, occasionally dry, and rarely waterlogged. When they’re planted in clay-heavy soil, crowded in a bed that stays damp, or watered on a frequent schedule regardless of whether they need it, the roots begin to suffer.
Root rot can cause a surprisingly sudden-looking decline. The plant looks fine, then droops and yellows over a short span of time. By the time the top of the plant looks bad, the damage below ground is often already significant. NC State Extension notes that these plants generally will not persist in poorly drained sites — drainage is genuinely non-negotiable for long-term health.
The fix, if you catch it early, is improving drainage. In the ground, that may mean incorporating compost or coarse sand into heavy soil, or raising the bed a few inches. In an existing planting that’s struggling, reducing watering frequency and letting the soil dry out between waterings can help if the roots aren’t already compromised. If you dig up the root ball and it’s dark, mushy, and smells bad, the plant likely won’t recover — remove it and amend the soil before replanting.
Water at the base of the plant, not the leaves. Wet foliage sitting overnight is a reliable path to fungal problems.
Fungal Diseases Look Scarier Than They Often Are
The most common fungal issues in black-eyed Susans are powdery mildew, leaf spot (caused by Septoria or Cercospora), and stem rot. Each looks different but tends to share a common thread: they’re favored by humid conditions, poor air circulation, and wet leaves.
Powdery mildew shows up as a white, powdery coating on leaf surfaces, usually in late summer. It’s unsightly but rarely fatal. Better air circulation and avoiding overhead watering can prevent it; once it’s present, it tends to run its course toward the end of the season.
Leaf spot produces dark brown or black spots that spread and may cause leaves to yellow and drop. It can look alarming but often doesn’t kill an otherwise healthy plant outright. Removing affected leaves and improving spacing helps slow the spread.
Stem rot — characterized by darkening, mushy tissue near the base of the stem — is more serious. The Pacific Northwest Pest Management Handbooks describe it as a fungal problem that can cause the upper part of the plant to wilt and die even when the roots remain intact. If the stem base is affected and the plant is collapsing, removing it and keeping the soil around it drier is the main response. There’s no reliable cure once stem rot takes hold.
Crown rot is another issue to know about — it tends to appear in spring after a wet winter, when decaying organic material around the crown harbors bacteria and fungi that spread to healthy tissue. Keeping winter mulch pulled slightly away from the crown, rather than piled directly against it, reduces this risk.
Overcrowding Quietly Kills Over Time
Black-eyed Susans spread, both by runners and by self-seeding. After several years in the same spot, a planting can become dense enough that air can barely move through it, the soil stays wetter longer, and the center of the clump starts to die out. This is a gradual process but a real one.
Dividing perennial types every three to four years keeps them vigorous. Dig up the clump, separate it into sections with a sharp spade or garden fork, and replant the divisions with proper spacing — 12 to 18 inches apart is a common recommendation to allow for airflow. Early spring, just as growth begins, and fall after flowering are both good times to divide.
Too Much Shade, Too Much Fertilizer
Both of these are worth mentioning because they’re easy to overlook. Black-eyed Susans need full sun — around six hours of direct sunlight daily. In too much shade, they get leggy, produce fewer flowers, and become more susceptible to disease. If your plant is in a spot that’s gotten shadier over the years as surrounding plants have grown, that may explain declining performance.
On the fertilizer side, NC State Extension specifically recommends avoiding planting near lawn edges where lawn fertilizer can reach, because excess nitrogen pushes lush foliage at the expense of flowers. These plants actually prefer moderate-fertility soil. If you’ve been fertilizing heavily, easing back may help.
What This Looks Like in a Real Garden
A black-eyed Susan that’s wilting despite adequate water, with yellowing leaves and a stem that feels mushy at the base: that’s drainage and root rot. Remove it, amend the soil, replant in a better spot.
A plant with white coating on leaves in August: probably powdery mildew. Unsightly but usually not fatal. Let it finish the season, cut back in fall, improve spacing for next year.
A clump that was vibrant for two years and is now sparse in the center, blooming poorly: classic overcrowding or end-of-life for hirta. Divide if it’s a perennial variety; expect self-seeding replacements if it’s hirta.
A plant that looks fine in spring and then collapses in August with dark spots on leaves: leaf spot fungus. Remove affected growth, water at the base from now on, consider spacing next year’s planting more generously.
The Ecological Side of Getting This Right
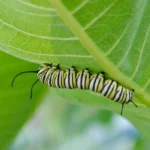
Black-eyed Susans are one of the better choices for a wildlife-friendly yard. They’re a key late-summer nectar source for pollinators, and their seed heads feed goldfinches and other birds through fall and winter — which is a good reason to leave them standing rather than cutting them down the moment flowering ends.
They appear on nearly every credible deer-resistant plant list because their rough, slightly hairy texture tends to be unappealing to deer. And they’re one of the plants that makes a native plant garden from scratch much easier — they’re forgiving, fast-establishing, and attractive to the insects you want around.
The catch is that even native plants in good habitat can struggle with the wrong soil conditions or too much water. Understanding what your black-eyed Susan actually needs is most of what separates a thriving plant from a declining one. These aren’t demanding plants. They mostly just want sun, decent drainage, and room to breathe.
Frequently Asked Questions
Why is my black-eyed Susan wilting even when I water it? Paradoxically, this is often a sign of overwatering or poor drainage rather than drought. When roots rot from too much moisture, they can’t take up water effectively — the plant wilts even when the soil is wet. Check whether the soil is staying soggy and whether the stem base feels soft or mushy.
Should I cut back a dying black-eyed Susan? It depends on the cause. If the plant has fungal disease, removing affected leaves and stems can slow spread. If the plant is simply finishing its natural lifecycle, cutting back won’t revive it but you can leave the seed heads for birds. In spring, cut back dead material before new growth starts.
Why did my black-eyed Susan die after one year? If you planted Rudbeckia hirta, one to two years is within its normal lifespan. It’s a short-lived perennial or biennial, not a long-lived perennial. Check around the original planting for self-seeded new plants, which often appear without any help.
Can I divide my black-eyed Susan to revive it? Division works well for Rudbeckia fulgida (smoother, shinier leaves) every three to four years. It’s less applicable to R. hirta, which is short-lived and better propagated by seed. The best times to divide are early spring or fall after flowering.
What do I do if the stem is mushy at the base? That’s likely crown rot or stem rot — a fungal problem often made worse by excess moisture. Remove the affected plant and dispose of it (don’t compost it). Let the soil dry out, improve drainage if possible, and wait before replanting in that spot.